
🎯 First Look: Navigating the commercetools Merchant Center Home Page
When stepping into the world of headless commerce, the backend interface can sometimes feel intimidating. However, if you are used to the heavy, cluttered admin panels of traditional monolithic platforms like Magento 2, logging into the commercetools Merchant Center for the first time is a breath of fresh air.
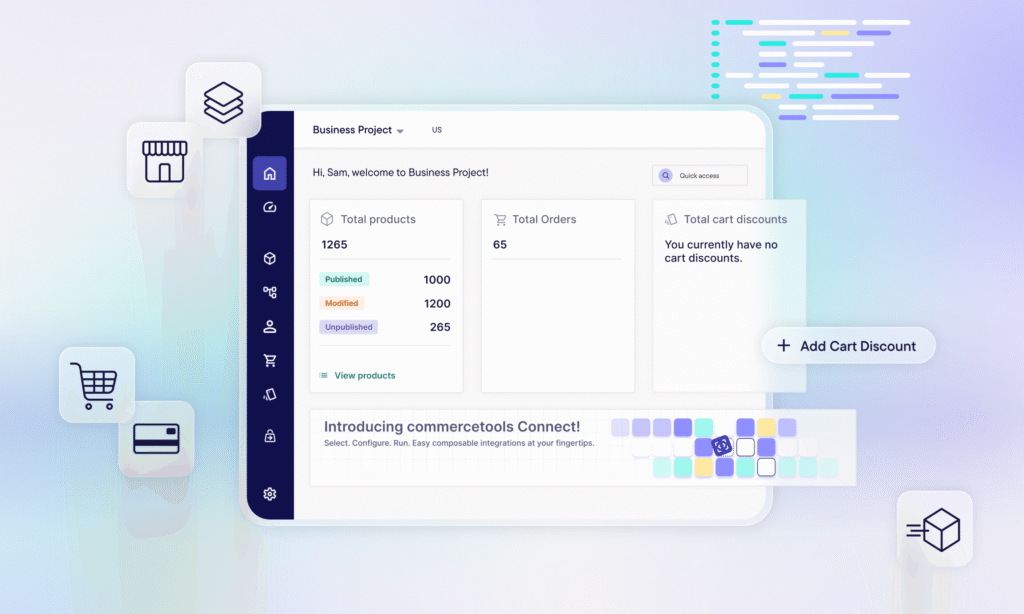
Whether you are building an intelligent e-commerce fashion store from scratch or managing a massive global brand, the Merchant Center is designed to be your visual control room. In this post, we are going to skip the deep dive into products and orders (we will save those for later!) and focus entirely on the first thing you see after logging in: The Home Page and Top Bar.
Let’s break down exactly what you will find on this welcome dashboard.
Key Takeaways: Why the commercetools Dashboard Wins
- No-Code Customization: Merchandisers and business users can build their own personalized analytics views instantly—no coding required and no waiting for IT support tickets.
- Developer Freedom: By empowering business teams to manage their own data views, developers are freed up to focus on what matters: building innovative storefront features.
- Zero Maintenance: Because it is a cloud-native SaaS platform, updates happen seamlessly in the background. Say goodbye to risky system upgrades and planned downtime!
- Future-Proof Analytics: As commercetools innovates, new widgets and visualization tools are automatically pushed to your workspace, ensuring you always have access to state-of-the-art tech.
1. The Top Bar: Project Switcher & Organization
The very first thing you’ll notice in the top-left corner is the Project Switcher.
Seamless Environment Switching: In commercetools, everything is contained within a “Project.” You might have one project for your development environment, one for UAT, and another for Production. Or, you might separate projects by region (e.g., US-B2B vs. India-B2C). The Project Switcher lets you jump between these environments with a single click—no logging out and logging back in required.
Organization Context: Right next to it, you will clearly see the Organization name, ensuring you always know exactly which company or client account you are currently modifying.
2. The Welcome Dashboard & Quick Actions
Front and center on your screen is a clean, minimalist dashboard that avoids dumping complex data on you all at once. It provides the essential jumping-off points:
Quick Links: To help you get to work immediately, the dashboard provides direct shortcut buttons for common tasks, like “Create your first product” or “Explore sample data.”
Sample Data Overview: If you chose to inject sample data (like a B2C lifestyle catalog) when setting up your account, this dashboard area helps you explore that pre-configured setup so you can understand how data is structured before building your own.
3. What's New: Release Notes & Platform Updates
Because commercetools is a cloud-native, SaaS (Software as a Service) platform, you never have to worry about manually installing version upgrades on your server. It updates automatically in the background.
Stay Informed: To keep you in the loop, the dashboard features a dedicated Release Notes feed.
Instant Visibility: The moment you log in, you can see if any new API endpoints have been added, what new UI features are available in the Merchant Center, or what bugs have recently been fixed.
4. User Profile & Preferences (Top Right)
Over in the top-right corner is your personal user profile icon, which acts as your hub for individual settings:
My Profile: This is where you configure your localized experience. You can change your display language and, crucially, your time zone. If you are working out of India but developing for a US-based client, ensuring your time zone settings are correct is vital for managing orders and discounts accurately.
Support & Documentation: Headless development relies heavily on good documentation. Right next to your profile, you will find direct links to the official commercetools documentation and the support portal, meaning API references and help tickets are always just a click away.
5. Guided Onboarding: The Sample Data Checklist
Beyond just the standard dashboard, if you are spinning up a brand new project and choose to import sample data, the Merchant Center greets you with an incredibly helpful “Review the imported data” checklist. Instead of leaving you to aimlessly click through the left-hand menu, it provides a guided onboarding experience. A prominent “Let’s get started” banner anchors the page, immediately giving new developers and merchandisers a clear, structured path to explore how a fully functional store is wired together behind the scenes without feeling overwhelmed.
This onboarding flow is brilliantly laid out in a logical e-commerce sequence. It prompts you to review foundational settings like currency and location first, moves on to tax rates and shipping methods, and then naturally progresses into products, customer data, and discounts. For teams transitioning from legacy systems, this step-by-step breakdown is invaluable; it visually maps out the architecture of commercetools, ensuring you understand the core building blocks of your new headless environment before you write a single line of code.