
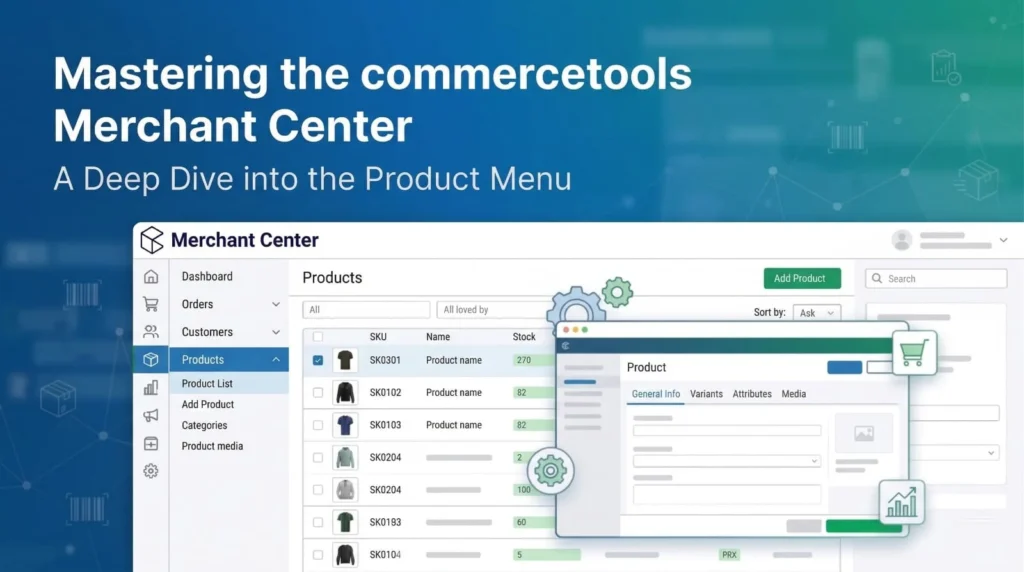
In the world of headless commerce, the Merchant Center is the primary interface where business logic meets product data. While developers interact with the APIs, category managers and merchandisers live in the Product Menu.
This guide breaks down the core components of the Product Menu to help you manage your catalog with precision.
1. The Product List: Your Command Center
When you first click into the Product Menu, you are greeted by the Product List. This is more than just a table; it’s a powerful search and filter engine.
Advanced Filtering:
You can filter by Product Type, Category, Variant attributes, or even "Missing Images."
Column Customization:
Use the gear icon to toggle which attributes (like SKU, Price, or Status) are visible in your main view.
Search Logic:
Remember that the Merchant Center uses the Product Projection Search endpoint, meaning it’s optimized for fast, keyword-based discovery.
2. Navigating the Product Detail Page
Once you click on a specific product, the interface splits into several critical tabs. Understanding these is key to accurate data entry.
| # | Name | Purpose |
|---|---|---|
| 1 | General Information | Core data like Product Name, Description, and Slug. |
| 2 | Variants | Manage SKUs, specific attributes (color, size), and unique identifiers. |
| 3 | Prices | Set prices based on Currency, Country, Customer Group, or Channel. |
| 4 | Images & Media | Upload and organize product photography. |
| 5 | Categories | Define where the product sits in your store hierarchy. |
| 6 | Inventory | Monitor stock levels across different distribution channels. |
3. The "Staged" vs "Published" Workflow
One of the most important concepts in the commercetools Product Menu is the distinction between Staged and Published data.
When you edit a product, you are modifying the Staged version. These changes are NOT visible on your live website until you hit the “Publish” button. This allows you to work on updates over several days without disrupting the customer experience.
4. Managing Categories and Attributes
Behind every product is a Product Type. The Product Menu allows you to see how these types dictate the fields available to you.
Attributes:
These are the building blocks (e.g., “Fabric Composition” or “Battery Life”).
Category Assignment:
A single product can belong to multiple categories. The Merchant Center allows you to drag and drop or search for categories to ensure your “New Arrivals” and “Summer Collection” are both populated correctly.
5. Efficiency Shortcuts
To speed up your workflow within the Merchant Center, keep these three features in mind:
Bulk Actions :
Select multiple products from the list to publish, unpublish, or delete them in one go.
Internal Deep Links :
Every product page has a unique URL. You can share these links directly with teammates for quick collaboration.
Language Toggling :
If your store is international, use the language dropdown at the top right to switch between localized names and descriptions instantly.
SUMMARY
The Product Menu in commercetools is designed to handle massive scale while remaining intuitive. By mastering the filters, understanding the staging process, and utilizing bulk actions, you can turn a complex catalog into a streamlined revenue engine.
The Product Menu in commercetools is designed to handle massive scale while remaining intuitive. By mastering the filters, understanding the staging process, and utilizing bulk actions, you can turn a complex catalog into a streamlined revenue engine.